TEST DRIVE Tutorial
MarkSmart Test-Drive is a demonstration version of our powerful software system, designed to provide you with a glimpse of its appearance and functionality, specifically focusing on the marking module. While it offers limited functionalities, it allows you to experience the teacher’s role in marking an uploaded assessment using all available marking tools. Please note that saving the marking is not enabled in this demo version.
To get started, we will create your user account, and following you will receive an email titled “MarkSmart Test Drive Email Confirmation: Your Test Drive Awaits!” This email is essential for verifying your email address and granting access to the demo.
Select click here in your email and the link will open the verification page. You will receive the following notification automatically.
You can now login to the MarkSmart test-drive application. Stay on this page and select Login , located under the tick symbol.
1. Login
To login, please open https://testdrive.marksmart.com.au on any browser or the Login from the email verification screen.
Login using your email address and the password that has been sent to you via email.
2. Accessing the Assessment for Marking
After successful verification, the system will open the main screen:
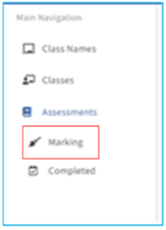
Please select “Assessments” from the Main Navigation toolbar, found on the left-hand side of the screen.
Then select “Marking”. This will open the marking screen.
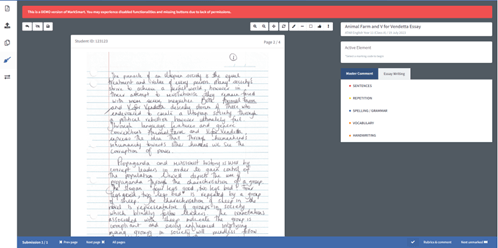
With the selection of the action button, the system will open the Assessment page:
You can enter the Marking Module from either or
button.
3. Marking
In this test drive application, you will be able to:
Navigate through the pages
Use the Magnifying toolbox: from which you can zoom in and zoom out, move the zoomed document
and reset the view
Use the toolbox
- By selecting
you can highlight text
- By selecting
you can underline text
- By selecting
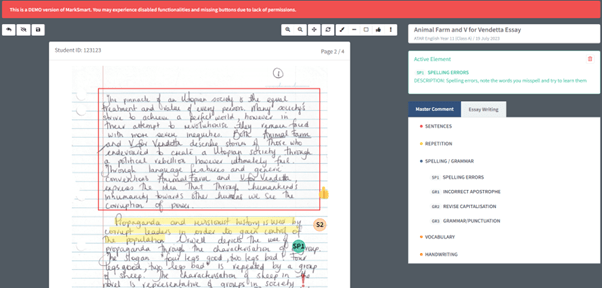
you can place a rectangle over a paragraph
- By selecting
or
you can mark a place that you like or indicate a place that needs attention from the student. In both options you can write down an explanation in the box that will appear on the right side of the screen.
Use Code Banks
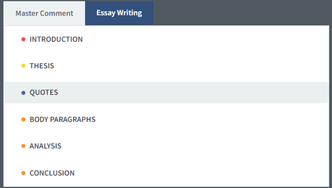
On the right-hand side of the screen, you can select codes. Two types of codes can be used (Master and Genre Codes).
You should select a corresponding code, i.e., “QUOTES,” which will open the codes relevant to quotes.
Codes can be selected from the list and dragged and dropped onto the assessment.
Any element that has been placed on the assessment can be removed with the delete button in the Active Element window:
Finalising Marking
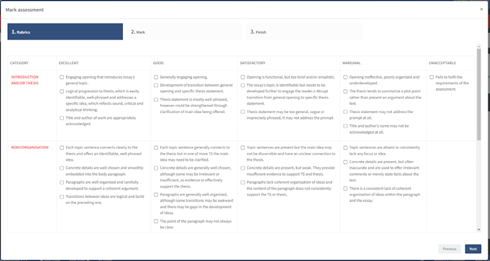
After completing the marking, open the Rubrics & Comments section to finalise the marking process.
- In the Rubric tab, you can tick the options according to the student’s achievement:
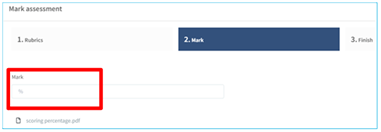
- In the Mark tab you can enter the percentage.
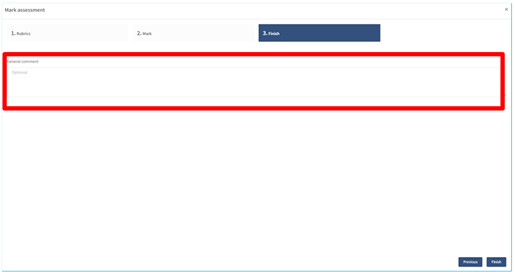
- The Finish tab is used to enter a general comment to the student (this is optional).
In the complete MarkSmart application, clicking the “Finish” button will seamlessly lead you to the next unmarked assessment, streamlining your marking process. However, please note that the test drive is a limited version, and this automatic progression won’t be available. The marking you have just performed has not been saved in the system.
Thank you for being a part of the MarkSmart experience!


